|
|
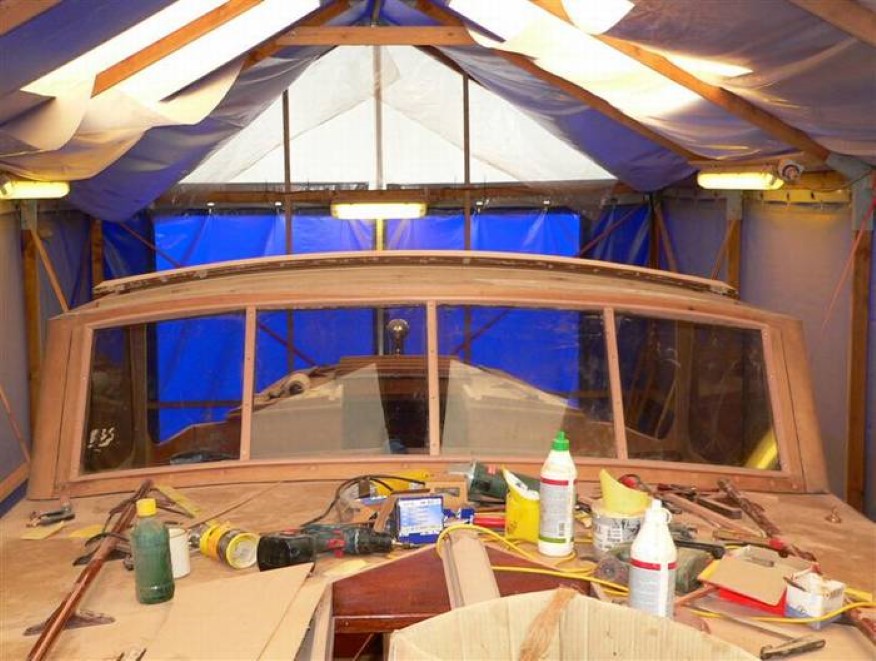
Now that the old wheelhouse roof has been removed and the varnish has been scraped off, it's time to begin the reconstruction. I start by repairing and patching the window frames - especially the starboard side is bad, so I take that side first.
|
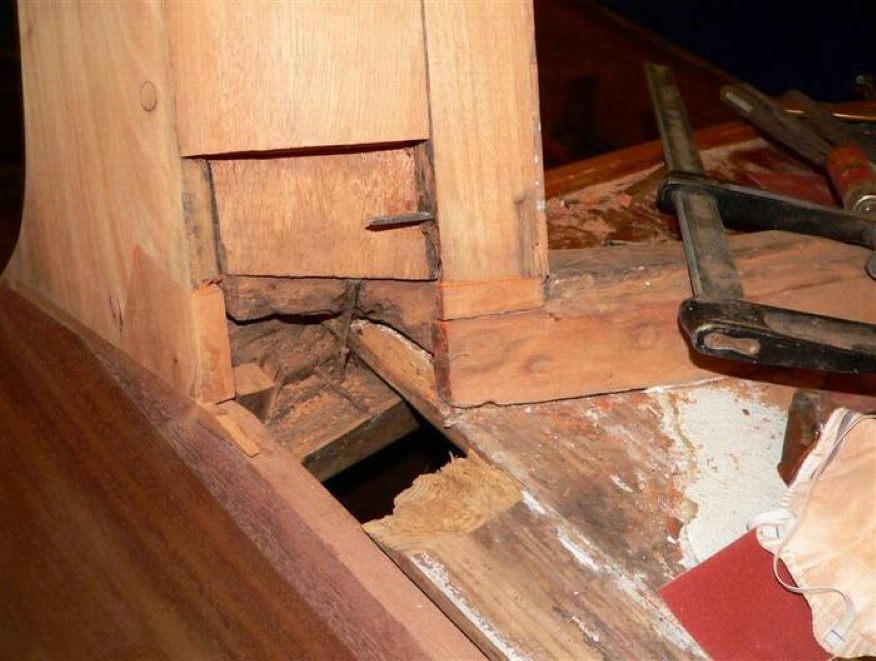
The lower front corner of the starboard side turned out to be worse than it seemed at first glance, in fact, it is rotten inside about 15 cm up. Furthermore, there was a bit of rot under the fiberglass on the cabin roof, though only approx. 10 cm of the outer plank. So I need to make some patches, and fortunately, I can use the mahogany from the old roof which has roughly the same color. The boat has sliding windows on the side, which is nice when we sail, but it does have a lot of edges that can absorb moisture. Therefore, they are in a somewhat rough condition and in addition, the posts are glued with Sikaflex, a poor solution that is ugly and not very durable.
|
April 16, 2008:
I am done patching the window frames - it turned out to be a big puzzle. I have yet to get the wood for the roof and the other repairs, but I hope it will get here next week.
May 6, 2008:
Unfortunately, I have to give up getting the boat in the water in 2008 - I still haven't received the tree I need for the repairs, and have also been delayed for a number of other reasons, among other things work. But on the positive side, this gives me a chance of going a little further with the restoration than I originally had planned, and we can get the boat in the water in April next year and get to enjoy the spring at sea.
|
May 17, 2008:
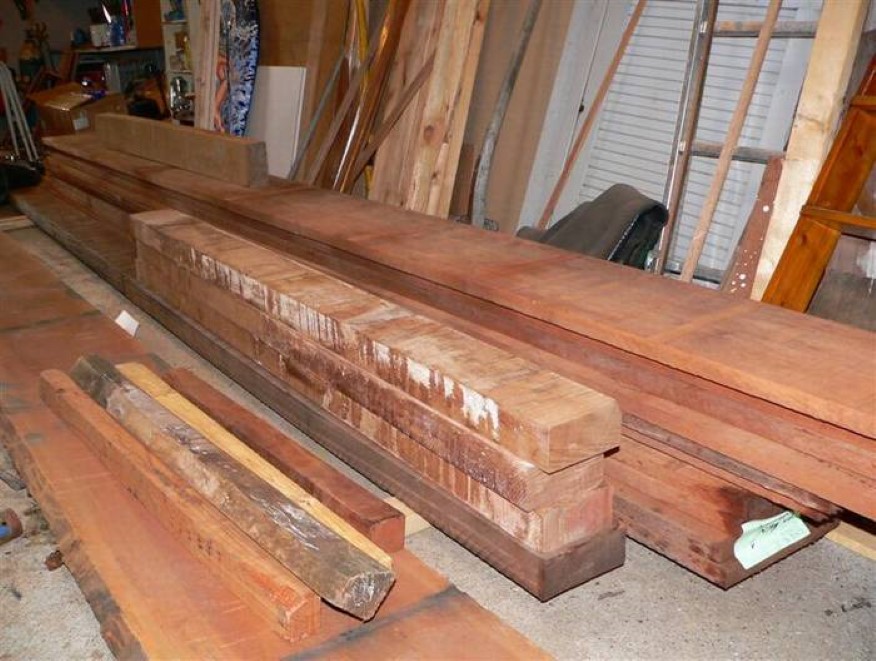
I finally got the wood for the repairs, so now I can get started with the more serious stuff. I would like to take a few days off of work, so I can get things going - I have been able to do too little this spring, and all the holidays have gone by with doing other stuff - family gatherings and visits, and we also had a gig with the band. July 24, 2008: It is necessary to replace a few pieces of wood in the starboard side of the bulkhead, and since I have it all taken apart now, I might as well finish it all on that side. It is a slightly messy repair
|
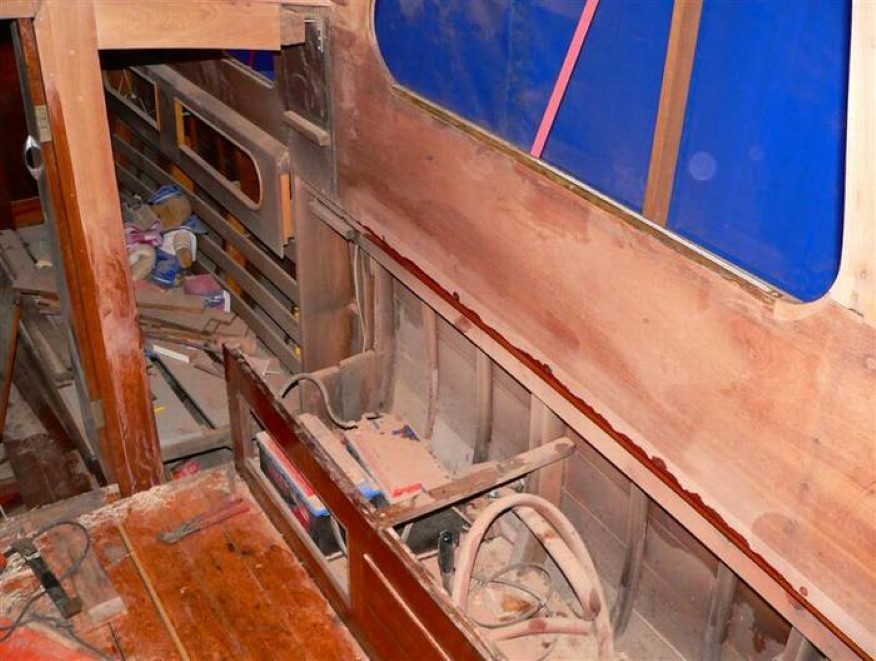
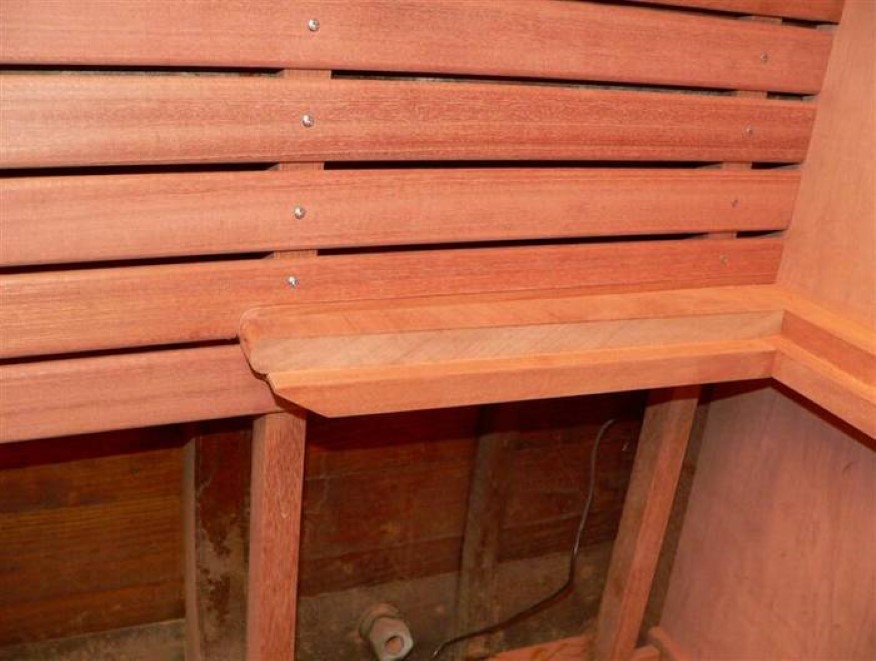
because the bulkhead is assembled with a - that is, the plates in the middle are stuck in a in the boards. I took the whole bench apart at the same time because it needs an overhaul too, and removing it makes more room to work with the bulkhead.
I decided to change the design a bit - there is a 90 x 25 mm post on each side behind the side windows, which doesn't look particularly good and I believe it is an "overkill" - they are too strong. Furthermore, the posts are very much in the way, especially on the aft side of the table. So I intend to remove them and make new smaller ones instead. August 7, 2008:
I wish the holidays weren't over already, but I need to make sure we have bread on the table. The renovation of the bench is progressing slowly but steadily moving forward, but it is certainly time-consuming. I had to mount the cooling element for the refrigerator inside the bench while I assembled the floor because the pipes can not be separated. I have now finished the benchtop and cleaned the old hatch, so now there are only minor details left to take care of before the bench is finished.
|
August 24, 2008:
Now the refrigerator box is done and I have made new brackets for the starboard side moldings. I have to make brand new moldings on both sides because of the changed bracing. I have been a bit handicapped because my planer had to be repaired, and it is difficult to finish the moldings without it.
I have already cut them on the table saw, and as soon as I get my planer back, I'll finish them. Meanwhile, I'm patching the rear post on the starboard side, which has a lot of rot. It was difficult to see before the bracing came off. After that, I only have to mount the new bracing and moldings, then everything on the starboard side is ready to be saturated with Owatrol D1.
|
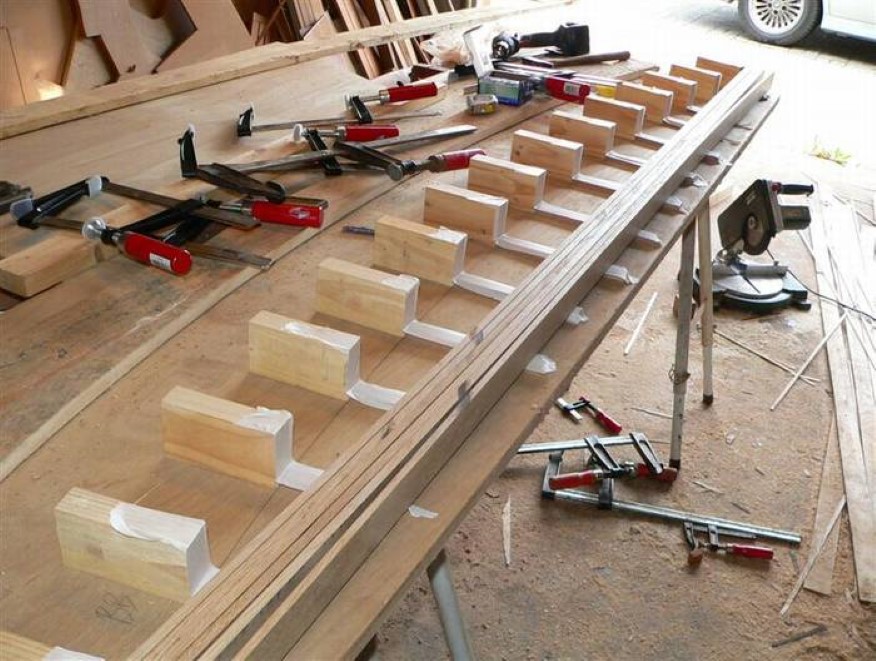
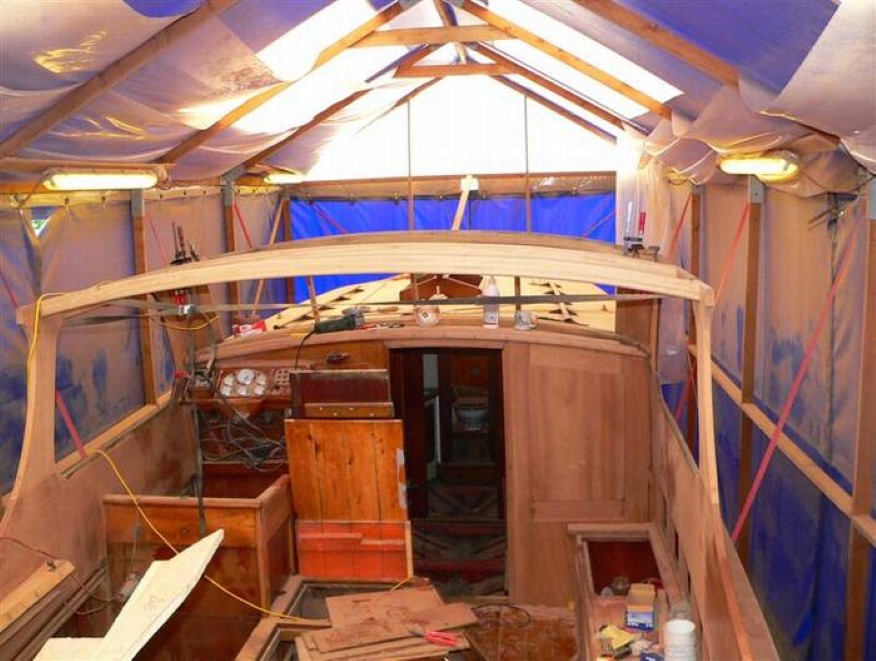
June 15, 2009:
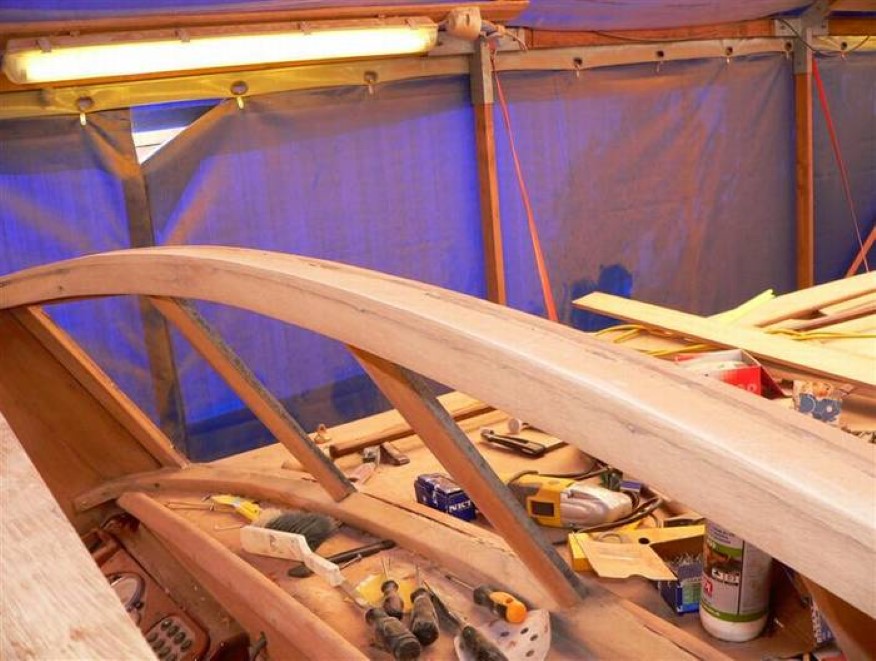
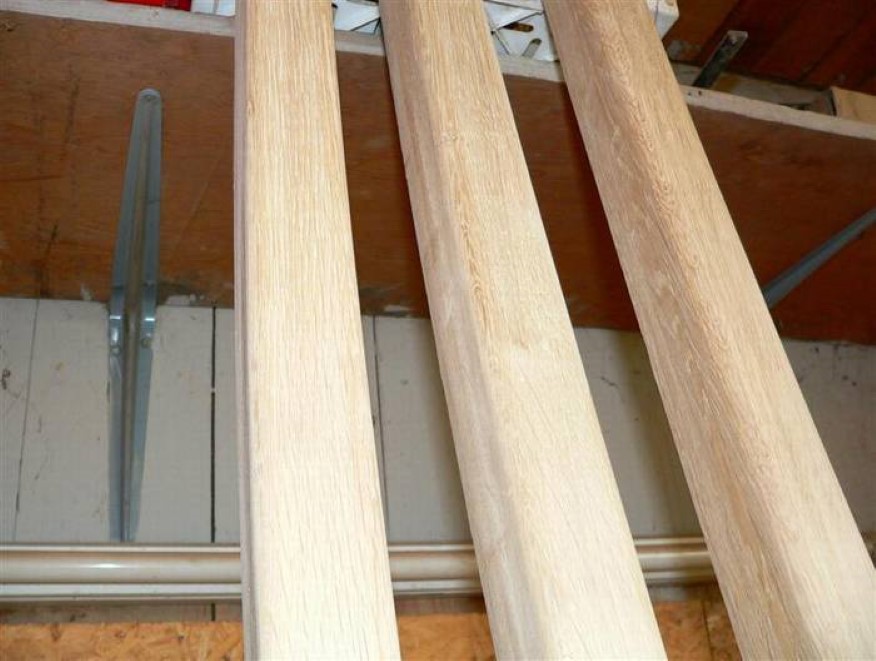
For the past 3 weeks, I have been working mostly on the wheelhouse. I have straightened the top of the front edge by gluing a few oak strips on top of it and planing it in shape, just as the corners have been patched and adjusted. I have also made the new oak beams and got them fitted. The beams are glued together by six 10 x 45 mm moldings, and I made the curve template by screwing wood pieces onto a 19 mm plywood board.
I used the same template to make the aft mahogany plank of the roof - it is glued together by three 8 x 200 mm planks which, after it's fitted to the roof, will be cut down to 160 mm in a slight rounding. It is necessary to make the plank that way because there is no beam underneath to support it - the plank must have the rounding in advance.
|
I have also made and mounted the stiffeners on the stern posts as well as the patched the post on the port side. So everything is ready for making the roof, but there are still some things that are easier to do before making the roof. So I'm making the moldings for the sliding windows, which are made of 35 x 5 mm mahogany, and also the top support for the sliding window, which an oak list with a .
Since I have decided to wait until next year to launch, I have now started to fix the helm chair and helm so that I can varnish it all at once.
|
July 21, 2009
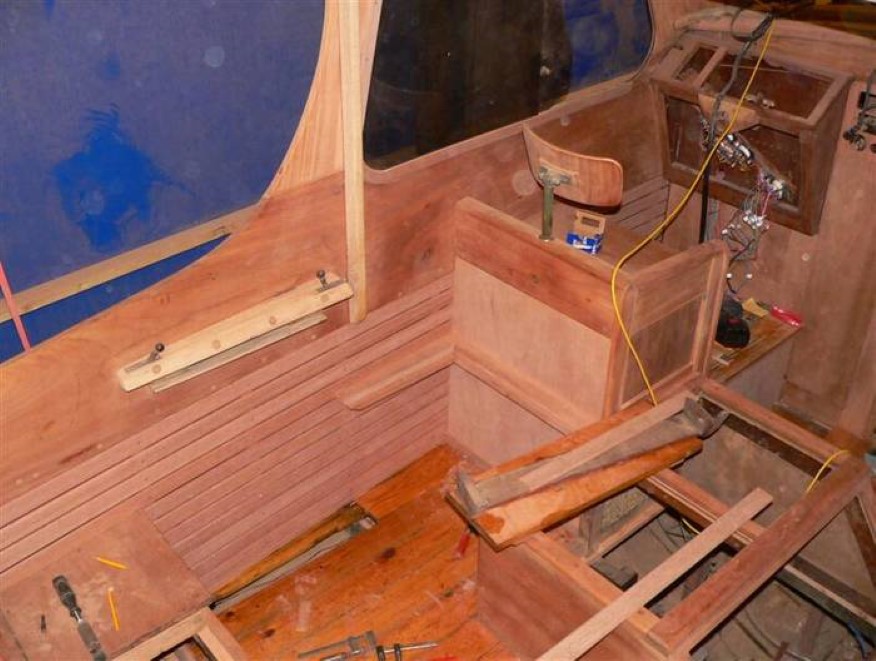
I have been relaxing a little over the last month, but I am now finished fixing the helm chair, engine box, and helm. I also made and mounted the many 50 x 8 mm moldings on both sides, and made the seat arrangement behind the helm chair. So now there's not much left to do in the wheelhouse.
The moldings were cut from a 3.5 meter long piece of mahogany of 120 x 70 mm, then planed down to a thickness of 8 mm and the edges rounded with the router. Eventually, the moldings have been sanded with sandpaper - all in all a lot of work. The mounting, on the other hand, was quite easy, it was just a matter of measuring properly and be accurate. Correcting and repairing the wheelchair and engine box was not the easiest job. Both were very skewed and I had to compromise to keep the old parts. But it's not supposed to be a new boat, so I'm fine with that. I had to take the helm chair completely apart and reassemble it in order to correct the skewness. I made a new handrail on the side of it and extended it down to the floor. The footstool, which previously contained the gasoline tank, has also been corrected and will now function as the boat's battery box.
|
The engine box had to be patched where the old switch from petrol to gasoline was located and the whole box has been raised 8 mm in the starboard side so that it better aligns with the aft bench. The engine box forms one side of the seat behind the helm chair, and a new arrangement was needed. I made it with hidden brackets.
I'm not done with the correcting the helm yet, I am considering to make a new dashboard - the one I made a couple of years ago is a little impractical in regards to the wires and connections. I haven't decided yet though.
|
August 1, 2009:
Finally, the wheelhouse is finished. I decided not to make a new dashboard this time around, I found a solution that makes working with the wires a little easier. But the helm itself is corrected, sanded and mounted, and the very last patch in the post on the port side has been glued in.
The boat has now also gotten its "face" back - the moldings for the windshields. It was not an easy job with all the different angles, but it all went very well. I expect to mount the windows with butyl sealant, and the moldings in plenty of Ettan (a Swedish sealant based on tree-tar and linseed oil, which never ifies). It'll be able to keep the water out, and also make it possible to take it apart again without destroying the moldings.
The next project is the wheelhouse roof.
|
|
|
|